

Like any skill, cooking is something you can get better at with time and practice. You start with the basics and slowly add new techniques to your arsenal, learning through trial and error as you go.
Though cooking is certainly a skill you can teach yourself, a little education goes a long way. That being said, you don’t have to go to culinary school to become an accomplished cook. From reading cookbooks to watching YouTube videos, there are countless ways to develop your knowledge base.
Here are 17 tips, techniques, and resources I've compiled over the years to help you become a better home chef...
1. Invest in the essentials.
Celebrity chefs love to use fancy kitchen gadgets, but you don’t need a pricy Vitamix blender or a sous vide cooker to become a skilled home chef. There’s no need to spend thousands of dollars on kitchen gadgets when you’re first starting out but it’s well worth making an investment in the essentials. A few pieces of quality cookware, sharp knives (more on that below), and basic cooking utensils are really all you need.
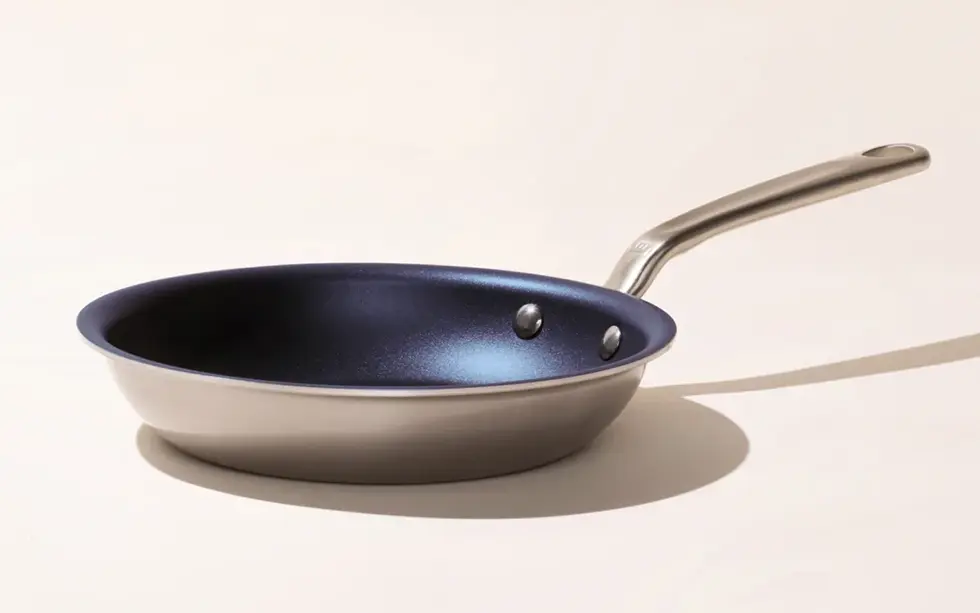
Start with a 10-inch nonstick pan. The nonstick coating reduces maintenance, and you’ll find using nonstick cookware more forgiving than stainless steel. The NY Times has some great recommendations in this article and they range in prices for different budget levels. My personal favorite 10-inch nonstick pan comes from Made In. I love that there is zero teflon (which can release dangerous chemicals at high temperatures), the handle stays cool regardless of how long the pan has been over a flame, and it's very simple to clean.
The next cooking essentials are...
- 6-Quart Stockpot: This is a versatile kitchen tool for cooking a variety of dishes. It's large enough to make soups, stews, sauces, and stocks for a family, but not so large that it takes up too much storage space. The larger capacity also makes it ideal for boiling pasta. The tall and narrow shape of a pot allows for liquids to circulate well, helping to evenly cook ingredients and develop flavors.
- 3-Quart Saucepan: This size of saucepan is ideal for cooking small to medium sized portions of food. It's good for heating smaller volumes of liquids, such as soups, stews, sauces, and broths. It can also be used for cooking grains, such as rice or pasta, as well as making small batches of sauces and gravies. As you progress in your culinary journey, you'll also find it helpful for sautéing vegetables and browning meat. I find the smaller size of the saucepan makes it convenient for reheating leftovers.
- Sheet Pan: One of the most common uses for a sheet pan is for baking but it's also great for roasting vegetables, meats, and other foods. The large surface area of the pan allows for even heating and, from my experience, it also make it easy to transfer the roasted food from the pan to a serving dish.
To make your prep-work easier, you may also want to invest in a set of nested mixing bowls, a decent cutting board, and an assortment of utensils like spoons, spatulas, and whisks. While you may want to invest in quality cookware, you don't have to shell out a lot of cash for these prep-work items. Whatever you find on sale should do the job.
2. Buy yourself a decent chef’s knife.
Perhaps the most important tool in any chef’s kitchen is the chef’s knife. You’re unlikely to notice a significant difference in expensive versus budget cookware when you’re just getting started but knives are not something you want to skimp on. Cheap knives are hard to keep sharp and a dull knife is a kitchen accident waiting to happen.
Le Cordon Bleu London recommends a high-carbon steel blade over stainless steel. Though it’s a little more expensive, high-carbon steel blades are sturdier and hold their blades better than stainless steel. Titanium blades are a little lighter but they’re not ideal for cutting very hard materials. If you’re working with a limited budget, a high-end ceramic blade might be a better option than low-end steel.
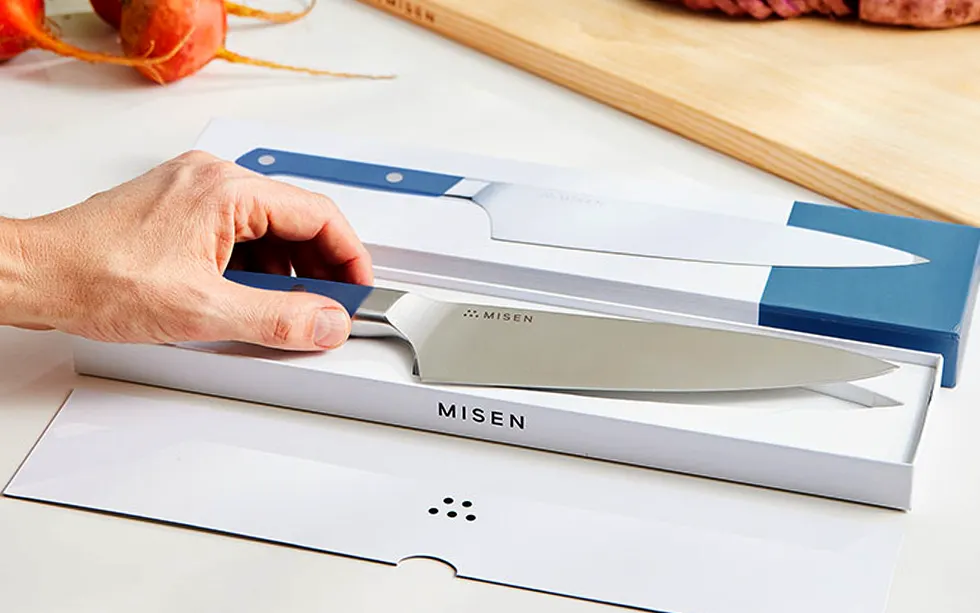
If you've watched any of our YouTube videos, you've probably seen us using a chef's knife with a blue handle. This is our Misen Chef's Knife and we absolutely love using it. The pro-grade AUS-10 Japanese Steel is the secret behind its sharpness and durability. It's strong enough to chop through chicken bones with ease, yet delicate enough to slice the softest of breads without squashing it.
3. Find a good beginner’s cookbook.
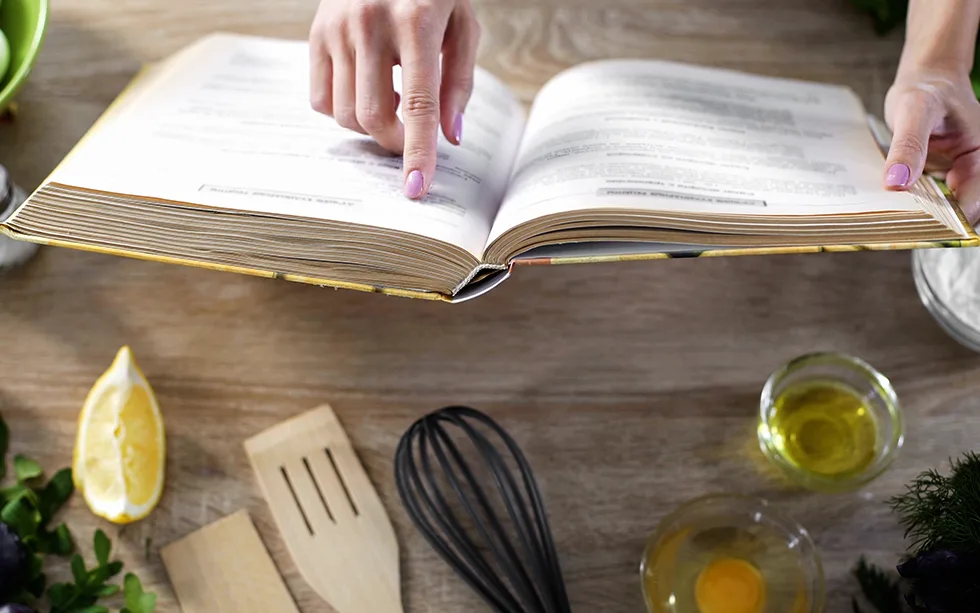
Cookbooks are more than just collections of recipes, especially beginner’s cookbooks. A good one will spend a few chapters going over basic cooking techniques like boiling, poaching, sauteed, and roasting and may even provide tips for using different types of cookware.
When you're just starting out, look for a beginner’s cookbook that includes a variety of recipes for simple, classic foods.
Even if you’ve never roasted a chicken before, you’ve probably eaten it. So, starting with classic recipes means you’ll already have some idea what the finished product should be.
Here are a few recommendations from personal experience...
- Better Homes and Gardens New Cook Book by Better Homes and Gardens: This cookbook features over 1,000 approachable and reliable recipes, including both time-tested classics and modern favorites. Each recipe includes a photo and helpful tips. What I really appreciate about it is that it also acts as a reference guide with charts for meat and poultry cooking times, how-to-photos, and a photo identification guide for ingredients.
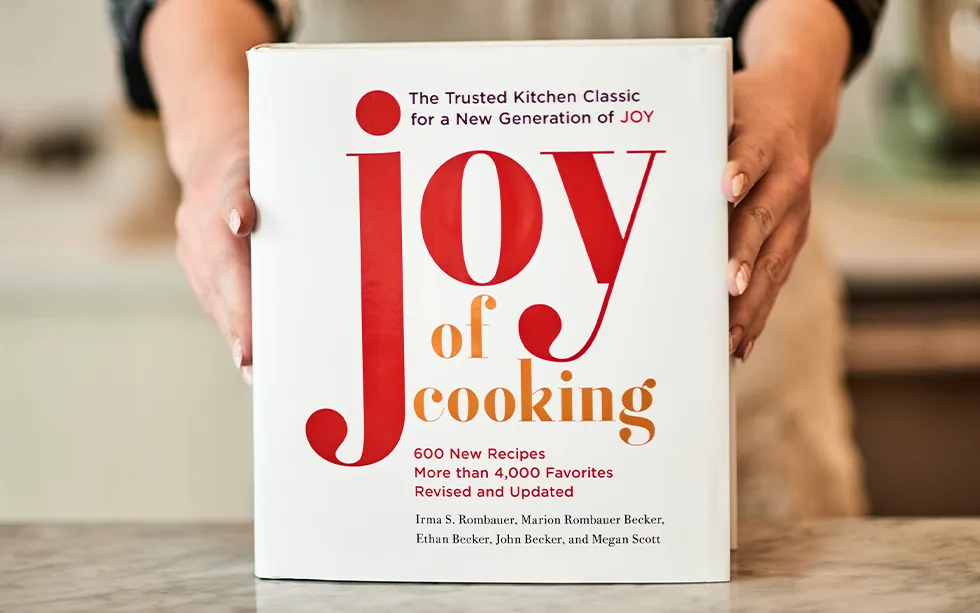
- Joy of Cooking by Irma S. Rombauer: Joy of Cooking is a timeless classic that has been helping people cook for decades. Its updated editions keep up with the times, featuring recipe updates and tips for the modern home cook. The book covers every meal and occasion, with beginner recipes like a ten-minute stir-fry. The updated edition features new illustrations that focus on technique, making it a helpful resource for honing your knife skills.
- The Well Plated Cookbook: With ingredient swaps and storage tips, this cookbook provides options for lighter recipes and using leftovers to make things a bit more budget-friendly. It also includes recipe spin-offs to keep meal time fresh. All of the recipes, from One-Pot Creamy Sundried Tomato Orzo to Sheet Pan Tandoori Chicken, are accessible to cooks of all levels but particularly geared towards those who are new in the kitchen.
4. Read your recipes thoroughly.
Though cooking is an art that leaves plenty of room for interpretation, it’s best to stick to the recipe when you’re first getting started.
It may seem simple enough but be sure to read the recipe from start to finish (and then read it again). It’s important to execute each step properly and to know what step is coming up next. Cooking often involves multitasking and being able to have the foresight to know when certain steps in the recipe will be complete.
The last thing you want is to set a time to serve your dish only to find out halfway through that it needs to marinate or chill for an hour partway through the preparation process.
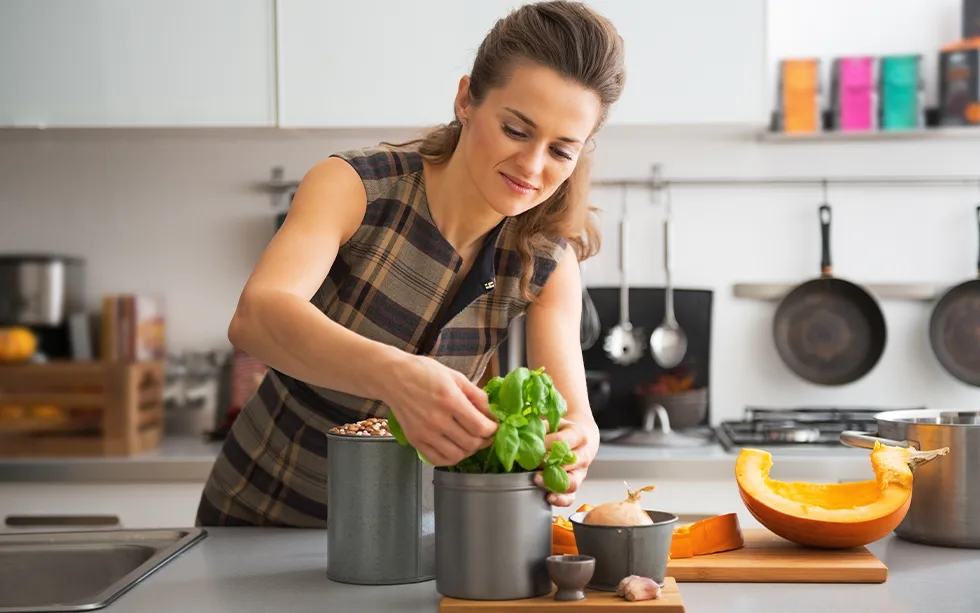
5. Get everything prepped before you begin.
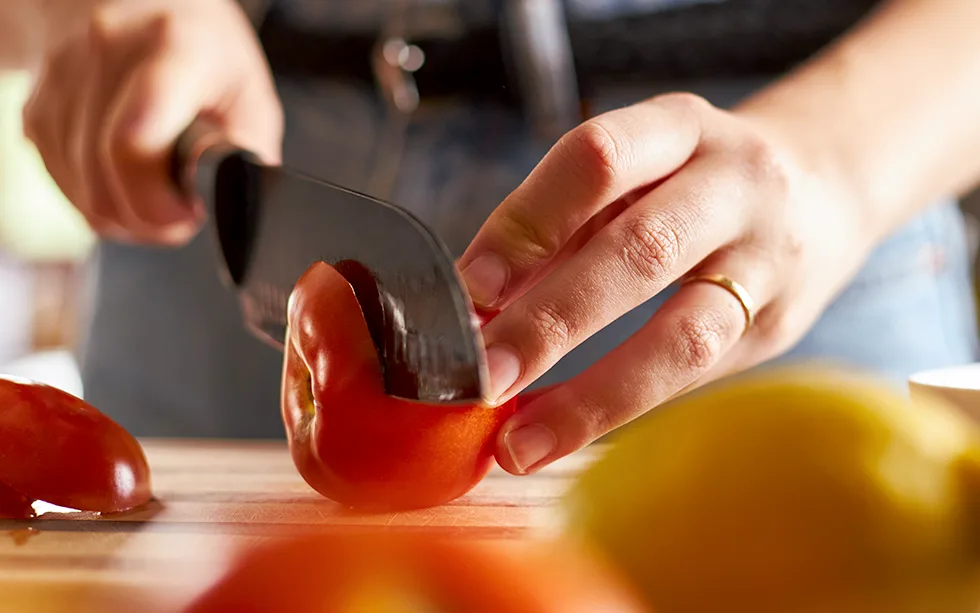
After reading the recipe, it’s a good idea to get all of your ingredients prepped at once. If you prep as you go, you might lose your place in the recipe and accidentally end up skipping a step. You don’t necessarily need to measure out your seasonings, but it’s wise to chop, dice, and slice everything else that needs to be prepared.
If you find the work of prepping everything at once to be tedious, look at it as an opportunity to practice your knife skills. By preparing a larger volume of ingredients at once, you’ll have a chance to monitor and adjust your technique as you go along.
6. Taste and season as you go.

Even if you’re following a recipe, it’s important to taste your dish as you go because the flavors will evolve and develop as they cook. Keep in mind that your dish may get saltier as the moisture evaporates, so you may need to add more liquid or turn down the heat. The flavor of acid tends to dissipate the longer a food cooks, so tasting the dish partway through will help you determine whether you need to add more acid during cooking or as a garnish.
Tasting your dish as it cooks is also a great way to develop and understanding of different flavors. Try tasting your dish before adding a seasoning then taste it again after giving it a minute to cook and see if you can identify how the flavor changes. Over time, you’ll learn to identify specific flavors and you’ll be able to tailor your recipes to suit your individual preferences.
For more information on seasoning, I highly recommend checking out this article. It gives great tips on how to use salt properly, how to season cold dishes, when to use certain seasonings like umami, and more.
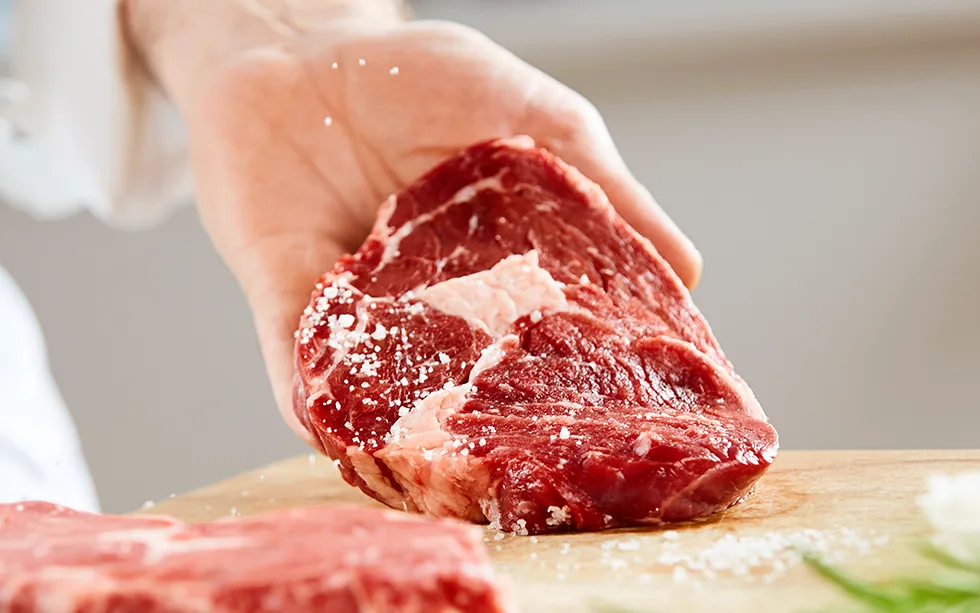
7. Bring your proteins to room temperature before cooking.
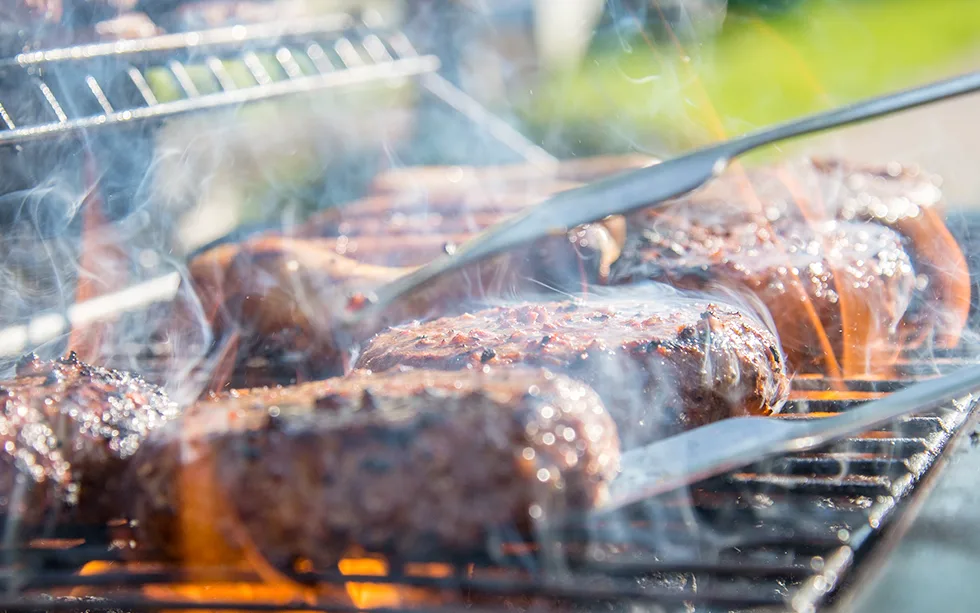
Proteins are often the star of a main entrée, so you want to make sure they shine. Tempering your proteins helps them cook more evenly and retain more of their natural juices. The term tempering usually refers to combining two ingredients of radically different temperatures but it also applies to the practice of letting proteins rest at room temperature for 10 to 15 minutes before cooking.
While tempering may not significantly change the outcome of some dishes, it can make or break others. For example, adding a cold steak to a hot skillet can shock the meat and cause it to seize. This results in a tough steak that can be difficult to eat. Bon Appetit suggests that taking the chill off meat, pork, and even fish before cooking will result in a juicier, more evenly cooked dish.
8. Use a meat thermometer and rest your proteins.

Not only should you bring your proteins to room temperature prior to cooking, but you should give them time to rest afterward. The trick is knowing when to remove the protein from the heat so it has time to rest without becoming overdone.
The quickest way to check your protein to see if it’s done is to cut into it. Unfortunately, once you do that the juices are released and the meat will start to dry out. This is where a meat thermometer comes in.
Using a meat thermometer enables you to check the internal temperature without compromising your dish. Remove the meat from the heat when it is a few degrees below the desired temperature and set it on a cutting board to rest. The protein will continue cooking a little bit and the rest will keep the juices from flowing out as soon as you cut it.
While meat thermometers range in prices—from fancy ones with their own mobile apps to non-digital versions—any one will do. We use this one which also comes in handy when baking as well.
9. Understand the importance of acid.
A little salt can change the flavor of a dish in an instant but it’s not the only way to take a dull dish up a notch. Adding a touch of acid from vinegar, lemon juice, or lime juice can breathe life into a dish.
The best time to add acid in a recipe is at the very end. If you’re not sure how to go about doing this, the easiest way is to try serving the dish with fresh lemon wedges and add a few drops to one bite to taste it and see.
While adding acid after cooking can brighten a dish, acid can also be used before cooking to tenderize proteins. When used in marinade or brine, acid breaks down the protein fibers. You can even use acid to “cook” seafood for dishes like ceviche.
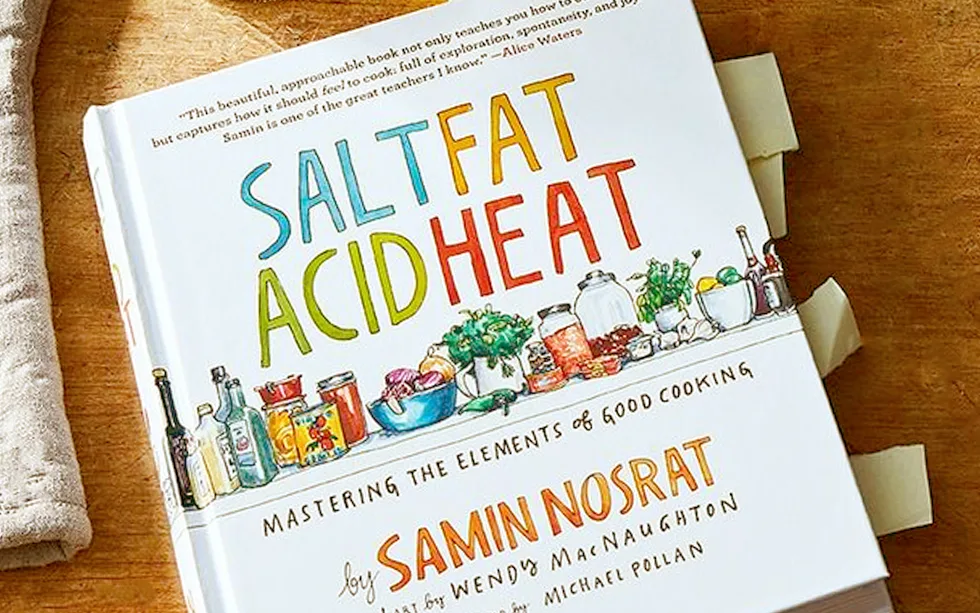
To learn more about the role of acid in cooking, I highly recommend reading the New York Times Bestseller Salt, Fat, Acid, Heat by Samin Nosrat. This book provides a comprehensive understanding of how acid interacts with all of the other elements of the dish and how you can properly use it to elevate your cooking.
10. Add a hint of umami to your savory dishes.
As a beginner chef, your ability to identify specific flavors may be limited to the basics: sweet, sour, salty, and bitter. But there’s a fifth flavor known as umami, which I briefly mentioned above. The term was coined in the 1980s by a Japanese scientist and roughly translates to “pleasantly savory.”
Here are some simple ways you can incorporate umami into your cooking...
- Add umami-rich ingredients: Adding ingredients like soy sauce, miso, or anchovies to your dishes can boost the umami flavor.
- Use umami-rich condiments: Worcestershire sauce, fish sauce, or oyster sauce can add a deep, savory flavor to your dishes.
- Enhance the dish with umami-rich spices: Adding dried herbs like thyme, basil, or rosemary, can enhance the umami flavor of your dishes.
- Cook with umami-rich stocks: Chicken or beef stock can be used as a base for soups or sauces, adding a rich and savory flavor to your dishes.
11. Always deglaze your pan.
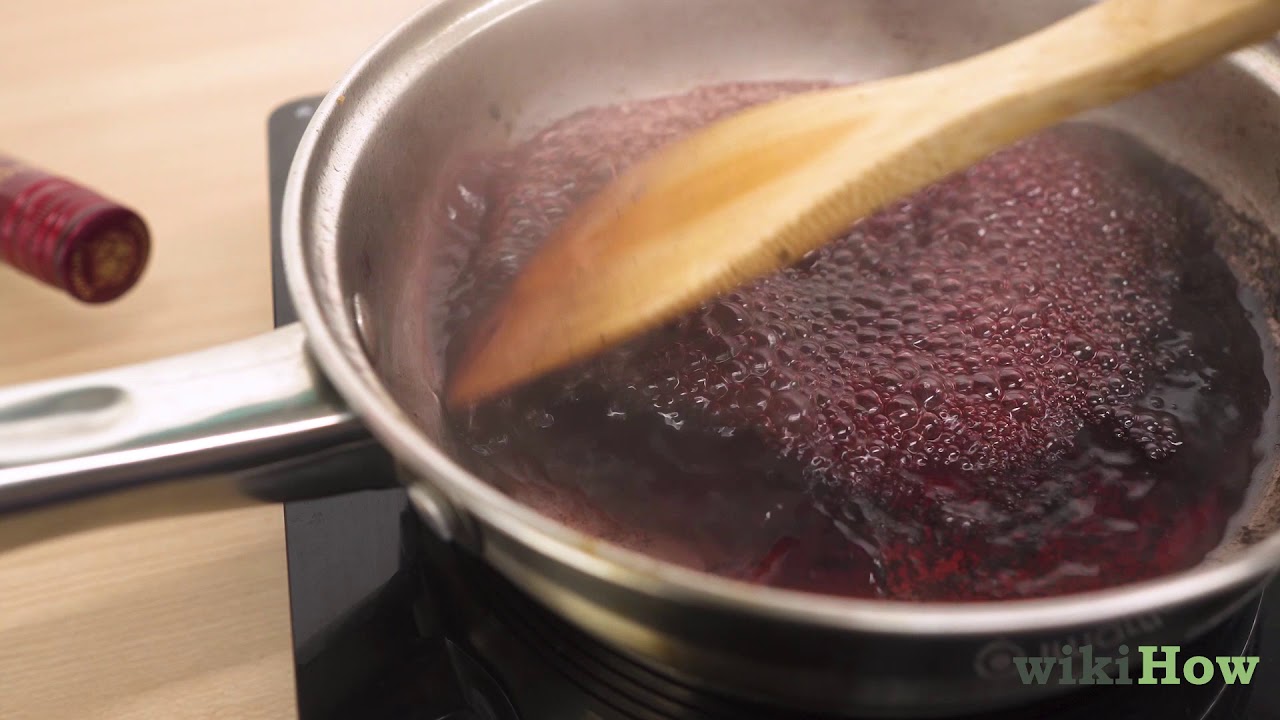
The secret to a delicious dish is to never let good flavor go to waste. Searing your proteins and sautéing your veggies adds flavor to the ingredients but it also leaves tasty browned bits on the bottom of the pan. Those bits aren’t just burned food – they’re a concentrated source of extra flavor. By deglazing the pan after sautéing or searing, you can put that flavor back into your dish.
The term “deglaze” may sound scary but it’s actually an incredibly simple technique. All you have to do is add a little liquid to the hot pan after sautéing onions and garlic or searing meat. Make sure the pan is nice and hot then add enough liquid (like broth, wine, or even plain water) to just cover the bottom of the pan. Give it a minute to simmer as you scrape up the browned bits with a wooden spoon.
The video above is a great, quick tutorial on how to deglaze your pan.
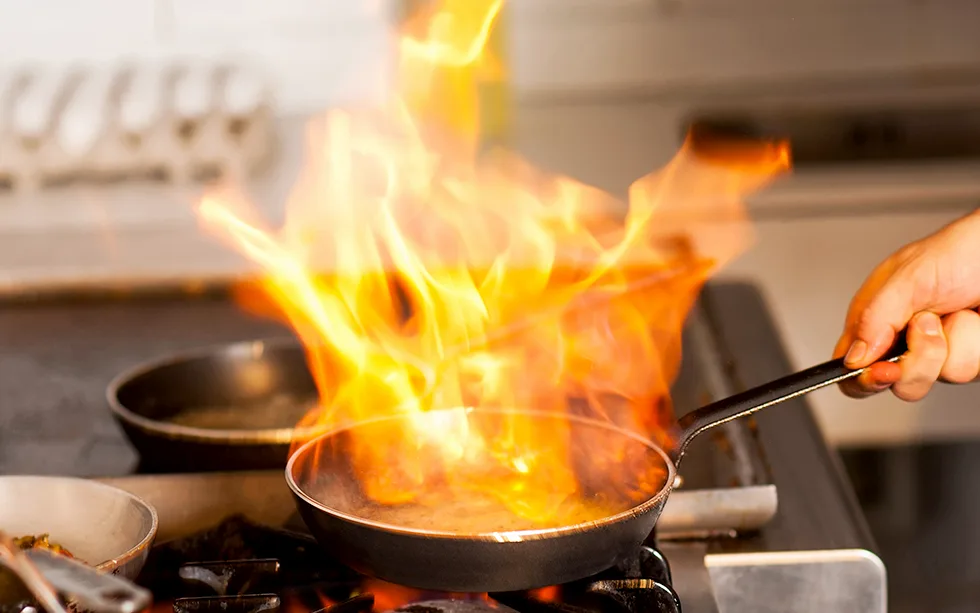
12. Pay attention to heat levels.
Preparing a recipe should not be a race to the finish line—cooking your ingredients too quickly may prevent them from having enough time to develop the desired flavor. As you’re reading your recipe, pay attention to the recommended heat level.
Here’s a quick overview of what to use each heat level for:
- Medium-High: This is where you’ll do most of your cooking. It’s the ideal level for browning and sautéing because it allows you to cook foods all the way through fairly quickly without burning them.
- Medium: This is best for gently cooking foods like vegetables but can also be used for rapid simmering to reduce liquids.
- Low: This level is generally reserved for slow-cooking and simmering.
- High: This is a must for boiling water but is also used for searing meats, sautéing vegetables, and thickening sauces.
Keep in mind that you may switch heat levels several times throughout the course of a single recipe. Pay attention to instructions in the recipe that tell you what the food should look like as it’s cooking—this will help you determine whether you need to adjust the heat. For example, if the recipe calls for a gentle boil at medium heat but your dish is only simmering you might need to up the heat to medium-high.
13. Branch out with a meal kit.

Once you’ve learned a few basic skills it’s important to broaden your horizons and keep progressing. One way is to find new recipes—cookbooks, blogs, and even social media channels are a great place to start. Though, what helped me the most early on in my own culinary journey was subscribing to a meal kit.
Meal kits take many forms but, if you want to practice your cooking skills, look for one that sends you recipes along with the ingredients needed to prepare them. These kits tend to be very beginner-friendly and some even provide portioned-out ingredients to minimize prep work. Many meal kits allow you to customize your subscription according to specific preferences or dietary restrictions as well.
Having tried every popular meal kit out there, here are the ones I recommend for new cooks looking to evolve their cooking skills:
- HelloFresh: As one of my personal favorite meal kits, HelloFresh is a great option for those looking to improve their cooking skills. Like most meal kits, their box provides pre-measured ingredients and easy-to-follow recipes. Where I think HelloFresh really excels is in how approachable their recipes are. They do an excellent job of taking seemingly complex recipes and making them simple to get through.
- Blue Apron: Blue Apron is another great meal kit for new cooks, as it provides highly detailed recipe cards that make it easy to follow along, even for those who are just starting out in the kitchen. Their recipes tend to be a bit more "upscale" than what you would find with HelloFresh.
- Home Chef: If you're looking for a meal kit that offers simple and tasty classics, Home Chef is hard to beat. Like HelloFresh and Blue Apron, their recipe cards are easy to follow along, even for those new to cooking. Home Chef also offers a variety of meal options, allowing you to do things such as swap meats and double up on portions.
- Sunbasket: If you're looking to get as adventurous as possible in the kitchen, Sunbasket can help. While I didn't find their recipe cards to be as detailed as HelloFresh's and Blue Apron's, their meals are both unique and delicious. They feature cuisines ranging from classic Indian and Thai dishes all the way to exquisit Ethiopian meals.
If the above options are out of your price range, there are cheaper and more pared back options such as EveryPlate and Dinnerly (which cost around $5 per meal).
14. Learn about the different types of salt.
As you read more recipes, you’ll start to notice certain patterns when it comes to key ingredients. Take salt, for example. Many recipes call for Kosher salt or sea salt rather than the typical iodized salt you keep on the table at dinner time. Does it really matter which you use? Yes.
Different types of salt have different flavor profiles, levels of saltiness, and textural characteristics. Some common types of salt include table salt, sea salt, Himalayan pink salt, kosher salt, and flaky salt. Each type of salt has its own unique properties that can impact the taste and texture of your dishes.
For example, table salt has a fine texture and is very salty, making it good for baking and preserving. Sea salt is coarser and has a more complex flavor profile, making it a good choice for seasoning finished dishes. Himalayan pink salt has a delicate flavor and is often used as a finishing salt. Kosher salt is a versatile type of salt that is good for seasoning and brining. Flaky salt has large, light, and delicate flakes that dissolve quickly, making it a good choice for finishing dishes and adding texture.
When selecting a salt to use in cooking, it's best to choose one that complements the flavors of the dish you're making. In general, more delicate flavored salts are best used as finishing salts, while more robust and flavorful salts are better used in the cooking process.
15. Find and follow YouTube cooking channels you like.

Reading recipes is a common way to learn how to cook but it’s not the only way, or necessarily the best way for some cooks. If you’re a visual learner or if you just need a little help getting the hang of a specific cooking technique, try watching cooking videos on YouTube.
Here are a few channels that have helped me...
- Babish Culinary Universe: You may be familiar with Binging With Babish for his recreations of dishes found in popular movies and TV shows. Something that new cooks may find helpful are his "Basics With Babish" videos. For example, he'll often host a live cook-a-long where you can watch and cook with him as he does. This can be extremely helpful for learning more complex techniques.
- Bon Appetit: Despite its reputation as a high-end food publication, the channel's content is perfect for home cooks of all levels. Their videos offer a variety of approachable and instructional cooking videos that are easy to follow.
- New York Times Cooking: The New York Times has a long-standing reputation for quality when it comes to their recipes, and this extends to its cooking channel, which offers a wealth of recipe ideas and cooking tips that new cooks can use to improve their skills. Their channel features a wide variety of recipes, from classic dishes to contemporary meals, making it a great place to find inspiration for any meal occasion.
Don’t limit yourself to the YouTube channels of celebrity chefs and restaurateurs. Cooking should be fun and it’s the most fun when you’re cooking the food you like to eat. I suggest you start by searching for one of your favorite recipes and go from there!
16. Keep your knives sharp.
Investing in a quality knife is essential but it’s just as important to keep that knife sharp. A sharp knife will make your life easier as a cook and, though it may seem counterintuitive, a sharp blade is much safer than a dull one.
When a blade is dull, it requires more force to cut through food, making it harder to control and increasing the risk of the blade slipping and causing injury. A sharp blade, on the other hand, can cut through food with less effort, making it easier to control and reducing the risk of accidents. Additionally, a sharp blade is less likely to get stuck in food, reducing the need to use excessive force and again reducing the risk of accidents. So, while it may seem counterintuitive, a sharp blade is actually much safer to use than a dull blade (particularly for inexperienced or novice cooks).
Hone your knife before and after each use to keep the blade sharp and straight. If you’re struggling to get the hang of using a honing steel, an electric knife sharpener might be a better option. This is the one we have in our kitchen and, while it's not cheap, it makes my life so much easier.
Be sure to store your knives properly as well to avoid dulling them and always wash them by hand.
Storing your cooking knives properly is not only important for maintaining their sharpness but also for preserving their quality, making sure they last as long as possible. The best way to store your knives is in a designated area such as a knife block, a protective sleeve, or a magnetic strip. Knife blocks and sleeves provide a safe and secure storage solution, while magnetic strips allow for easy accessibility.
Hand washing is also crucial to maintain the sharpness and longevity of your knives. Dishwashers can be tough on knife blades, causing them to become dull or damaged. Hand washing, on the other hand, allows you to clean your knives gently and keep them in good condition.
17. Use the proper pan.

While there’s no need to spend a fortune on cookware when you’re still learning the basics, it’s worth considering an upgrade as you progress. Don’t feel like you have to replace everything at once, either. It’s perfectly fine to purchase one high-quality pan at a time to work into your collection. The key is to learn how to use each pan properly.
Here's how to use the most popular pans...
- Skillet: Use for frying, searing, browning, and sautéing.
- Griddle: Similar use case as skillets but with a larger surface area.
- Dutch Oven: Perfect for soups and stews, it can be used like a deep skillet on the stovetop or transferred to the oven.
- Saucepan: Use for preparations that require a lot of liquid like cooking grains, making sauce, or blanching vegetables.
Final Thoughts
As you work to improve your cooking skills, be patient with yourself—you’re not going to become a pro overnight!
Even more importantly, remember that there’s always room for creativity. Being able to recreate recipes to a "T" is a worthwhile goal but it’s equally impressive to have the knowledge and skills to tailor a recipe to your own tastes or for the people you’re cooking for.


